
The image on the left shows where I have taken part of the image on the right (a selection) and painted it onto the image on the left. By using the healing brush tool and clicking on the daffodil yellow centre, I then painted it onto the other image... by clicking and holding down the mouse while you paint over the area you want. The more you paint, the more daffodil appears.


This shows the selection of daffodil painted onto the left image.
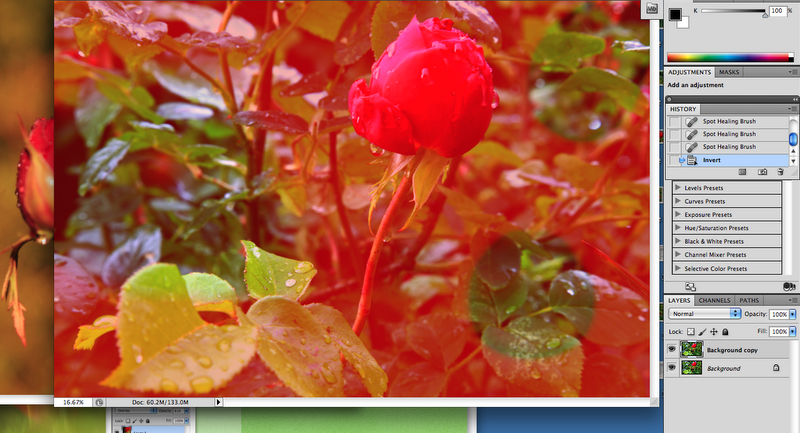
Then I looked at using the quick mask icon at the bottom of the tool box and when used this paints in red. You click on the tool and paint over the image in areas where you want to mask, (protecting that part of the image underneath). Painting over areas in red will reveal the image below in these areas, for adjustment, then you click image, adjustments, 'revert' and it places the marching ants around the selections. As you then use the adjustment sliders ie. brightness/contrast you see how the objects within the selections are adjusted. You can revert back (or press Q) to change between the screens to adjust the rest of the scene, or none selections.


Above I used a different image to experiment with masking techniques, as the screen grabs show, where I painted in red and tried some techniques:


You can paint over all the background so that the only selection showing is the part that is affected by any adjustments, and visa versa following the same process as described above.


This shows how you can look 'through' the mask (the red painted area) to see how adjustments now effect the underneath green background selections.
No comments:
Post a Comment